How To Split Screen In Microsoft Word
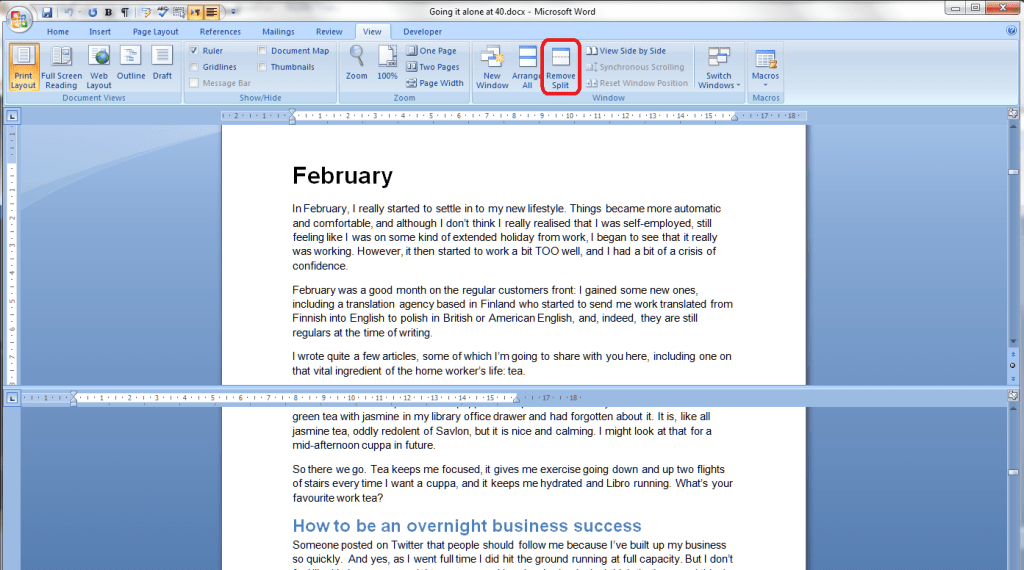
How To Split Screen In Microsoft Word. When you scroll in one document, the other. You can relocate the split line by moving your mouse up and down and click your mouse to accept that position.
Click on the view tab. This will help you m. The table looks like below.
Click The “Layout” Tab On The Ribbon At The Top Of The Word Window.
The split line will appear in the center of your document. Just click the end of line portion and drag it below the page. If the window is wide enough, word displays split directly on the view tab.
Get The Complete Tutorial Free At Ht.
Hello guystoday in this video i showed you how you can split/bifurcate your screen in two parts in word 2016 / office 365enjoy it!thanks for watching our vid. This split bar can be easily positioned by moving it with the mouse. Navigate to the view tab on the ribbon.
Here We Select One Column And Two Rows Of The Table.
How to vertically split a screen in microsoft word Type auto to set the dimension by other means, such as dragging the splitter bar in layout view. Return it by clicking, keeping the mouse button down and moving the split line up to the top of the screen.
But You Can Easily Resize It.
Go to the view tab, and in the window group, select the ‘view side by side’ button. On the view tab, click arrange, and then click split. If you want them to scroll separately, select synchronous scrolling to turn it off.
The Quickest Way To Remove A Split Window Is To Double Click On The Dividing Bar.
To split the window, display the view tab of the ribbon and then, in the window group, click the split tool. Make sure you have both of the files open. Select one document from the list that you want to view in addition to the current document and click “ok”.
Post a Comment for "How To Split Screen In Microsoft Word"